> For the complete documentation index, see [llms.txt](https://docs.ohmautomation.io/llms.txt). Markdown versions of documentation pages are available by appending `.md` to page URLs; this page is available as [Markdown](https://docs.ohmautomation.io/en/android/guide/thermostat.md).
# Thermostat and Humidistat
Guide summarizing the main features of the thermostat; the steps described apply to the humidistat and, in general, to the management of any sensor for which control has been activated.
The app lets you adjust the temperature, create weekly events (for automatic control), and recognize when the associated load (for example, a solenoid valve) has been activated. In this short guide, we will show a simple example.
{% hint style="success" %}
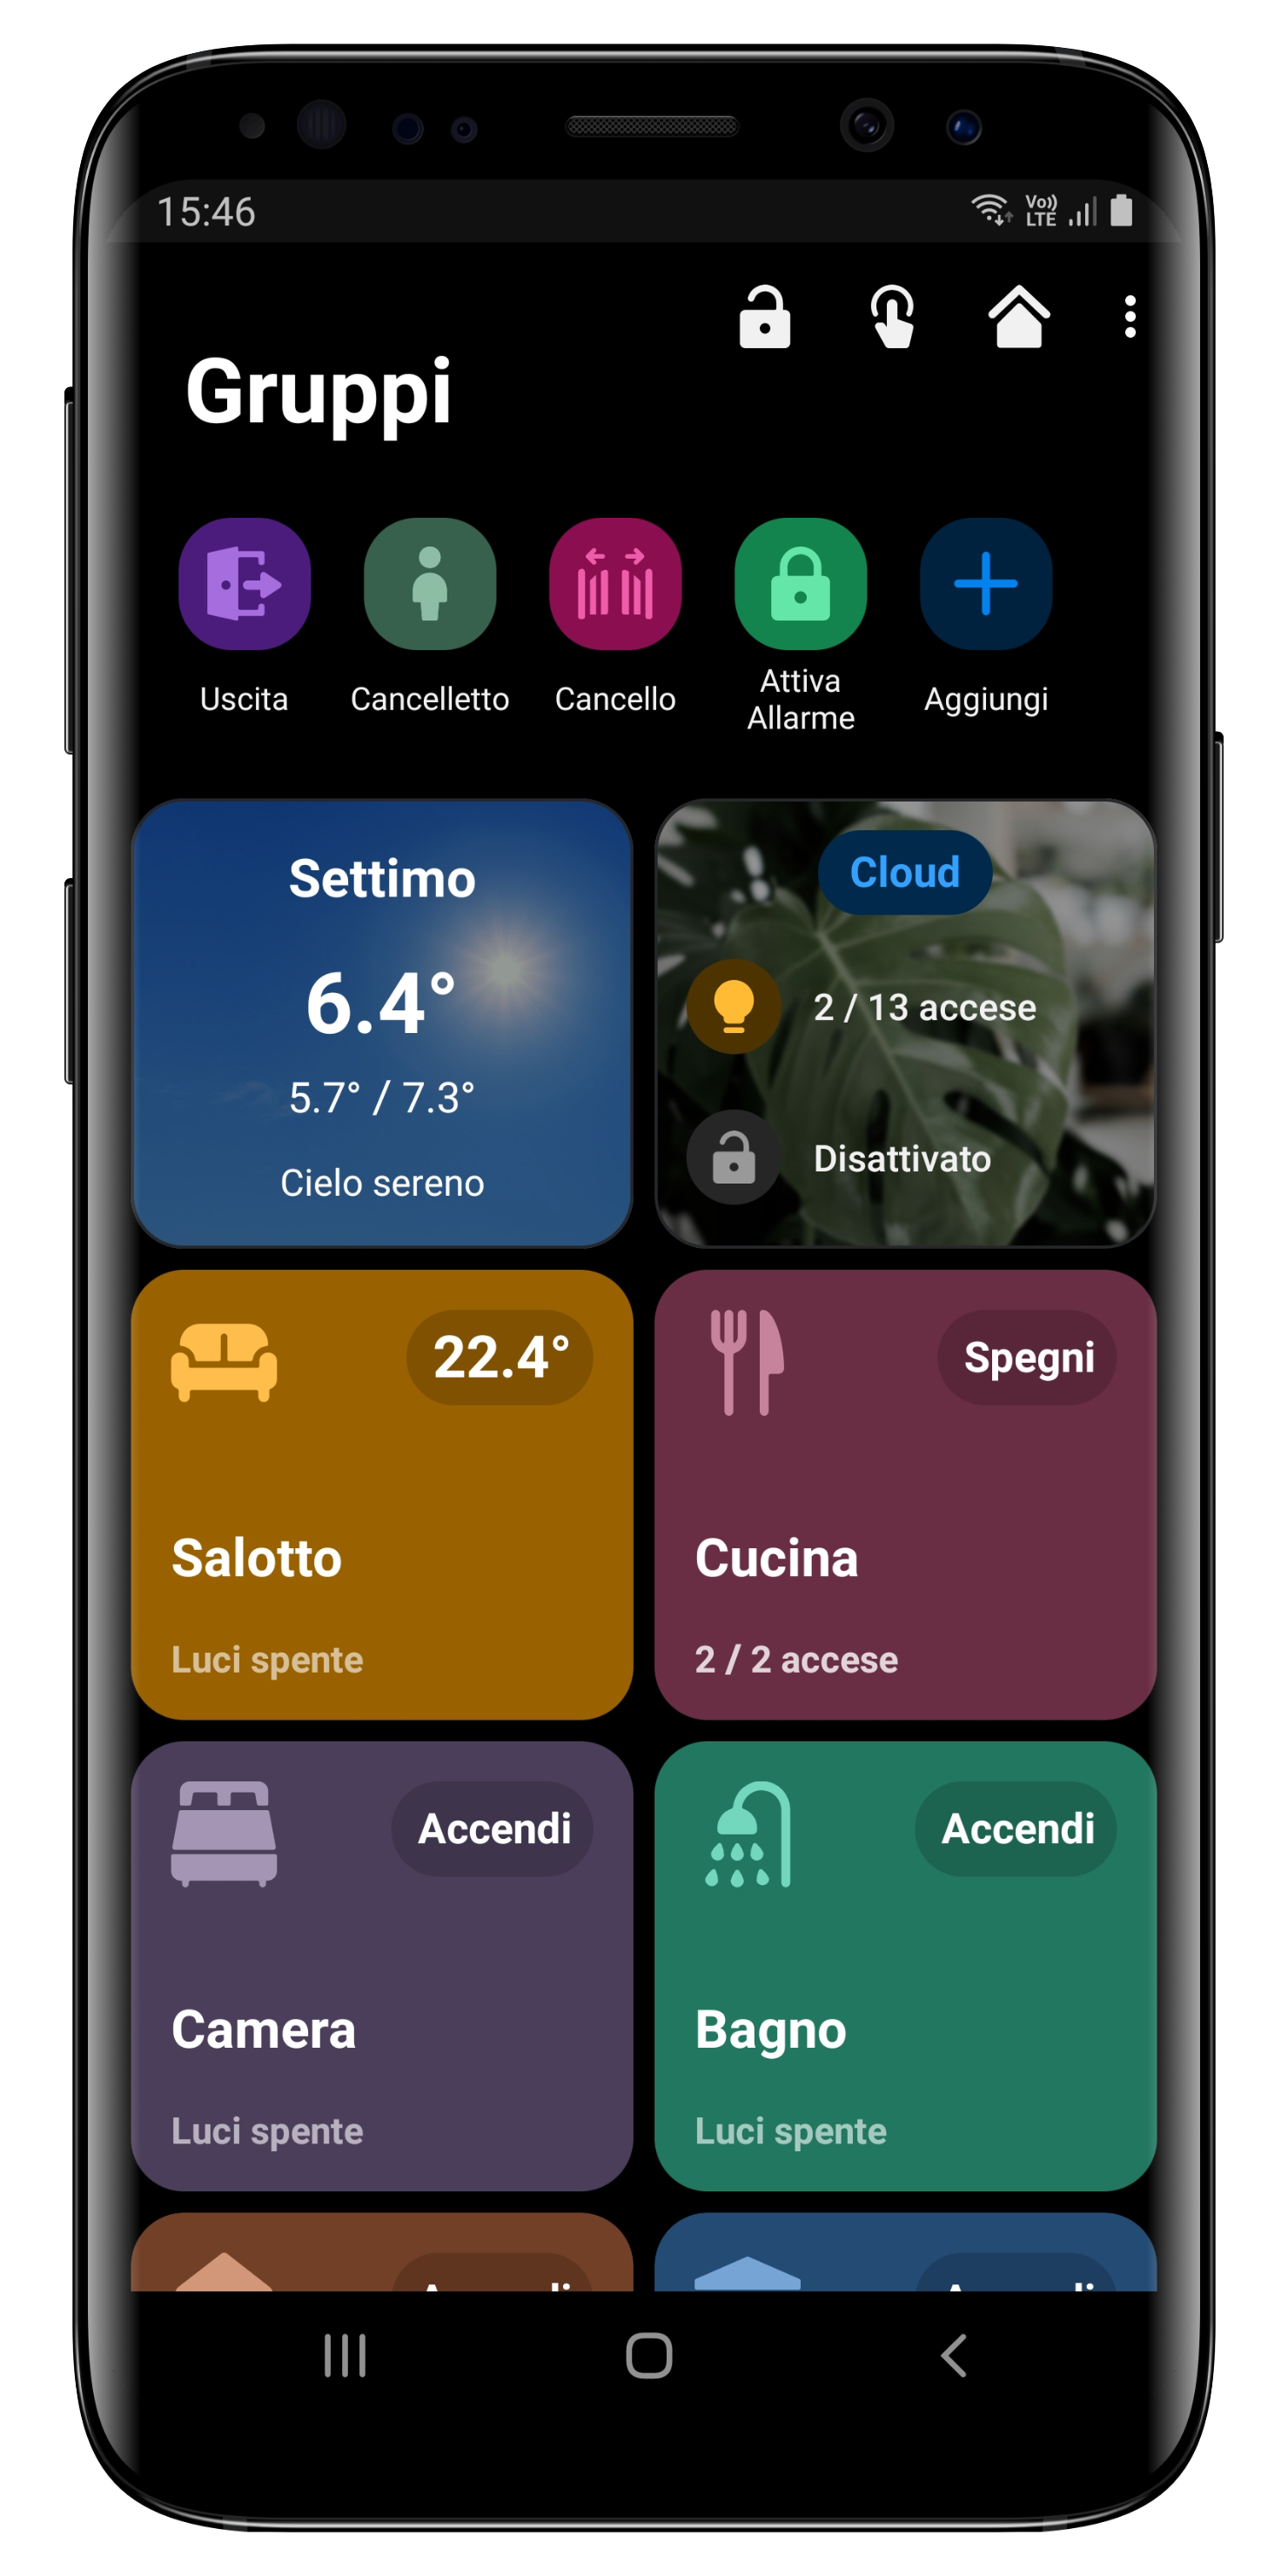
Once the app is open, click the room/group where you want to adjust the temperature. In this example, we will modify the settings for the Living Room.
{% endhint %}
## Sensors Page
Select the Sensors page (button in the bottom bar) to view thermostats, humidistats, sensors, etc. in that room/group.
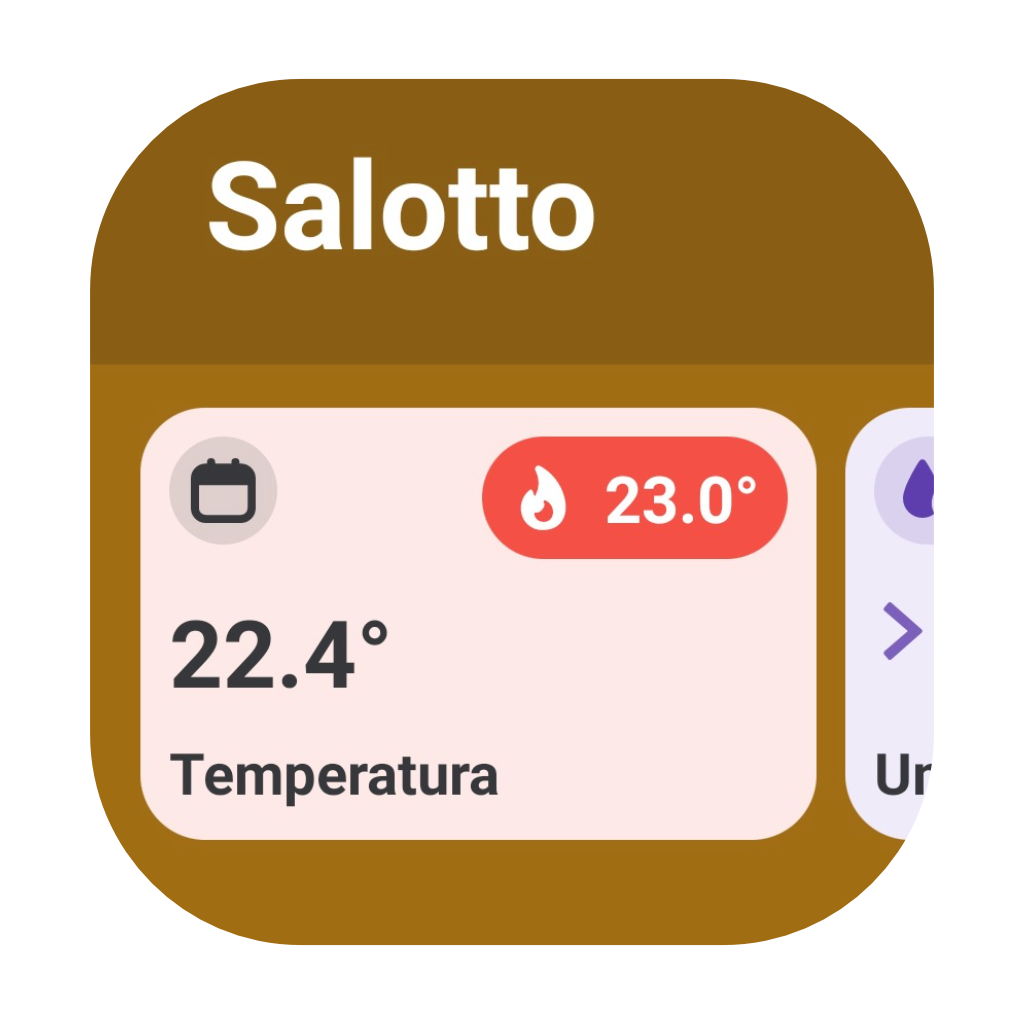
In the image, you can see only one thermostat; the interface makes the current configuration easy to understand:
* transparency and the **`OFF`** label indicate that it is currently off
* the measured temperature is 22.4°C
{% hint style="success" %}
Click on the thermostat to change the settings.
{% endhint %}
## Activation and Adjustment
After tapping the thermostat, you will see the following page.
To turn on the thermostat, tap the switch in the *Activation* section.
To adjust the temperature, you can use the **`+`** and **`-`** buttons or tap the value to enter the setpoint directly. If the thermostat supports both heating and cooling, you can choose the mode in the dedicated section.
{% hint style="success" %}
For now, we will just turn on the thermostat and set the temperature to 23°C. Then press the blue button at the bottom right to confirm.
{% endhint %}
After saving, the thermostat display will look as follows.
Where the **`OFF`** label appeared before, now the 22.5°C setpoint is shown and the thermostat is no longer transparent.
The bright red background, where the setpoint is displayed, indicates a thermostat *heat call*, so the associated loads (e.g., solenoid valve) will be activated.
When the room reaches the set temperature, the red background becomes less intense, as shown in the following image.
## Calendar
To enable automatic thermostat management, you can configure events in the dedicated calendar.
To access the calendar, simply click the dedicated icon on the thermostat. You can also access the calendar from settings by scrolling down to the **Calendar** section.
Once the calendar page is open, click the **+** button at the bottom right.
A page with several options will open, including:
* option to define a name
* selector to enable/disable the event
* selection of weekdays
* event start and end time
* setpoint and mode configuration
* whether to enable or disable the thermostat during that time slot
* option to turn off the thermostat at the end of the event
{% hint style="danger" %}
The *Turn off at end of event* option (enabled by default) automatically switches off the thermostat at the end of the time slot.
Often, you may not want to turn the thermostat off completely, but instead adjust the setpoint to a lower/higher value (depending on whether you are heating or cooling). To do this, disable this option and create other events with the desired setpoint.
{% endhint %}
If there are active events, the calendar icon will be shown in blue.
{% hint style="info" %}
Events are set to impulsive behavior by default, so even if you are within one of the configured time slots, you can still manually adjust the setpoint. This temporary setting will remain until a new event is executed.
{% endhint %}
### Example
In the event below, we selected all weekdays and set the time slot to 05:00 - 08:00.
Now set a 20°C setpoint and choose *Heat* as the mode. Also disable the *Turn off at end of event* option, so the thermostat is not switched off at the end of the time slot.
{% hint style="success" %}
Then press *Save* in the top right corner to confirm the configuration.
{% endhint %}
## Tips
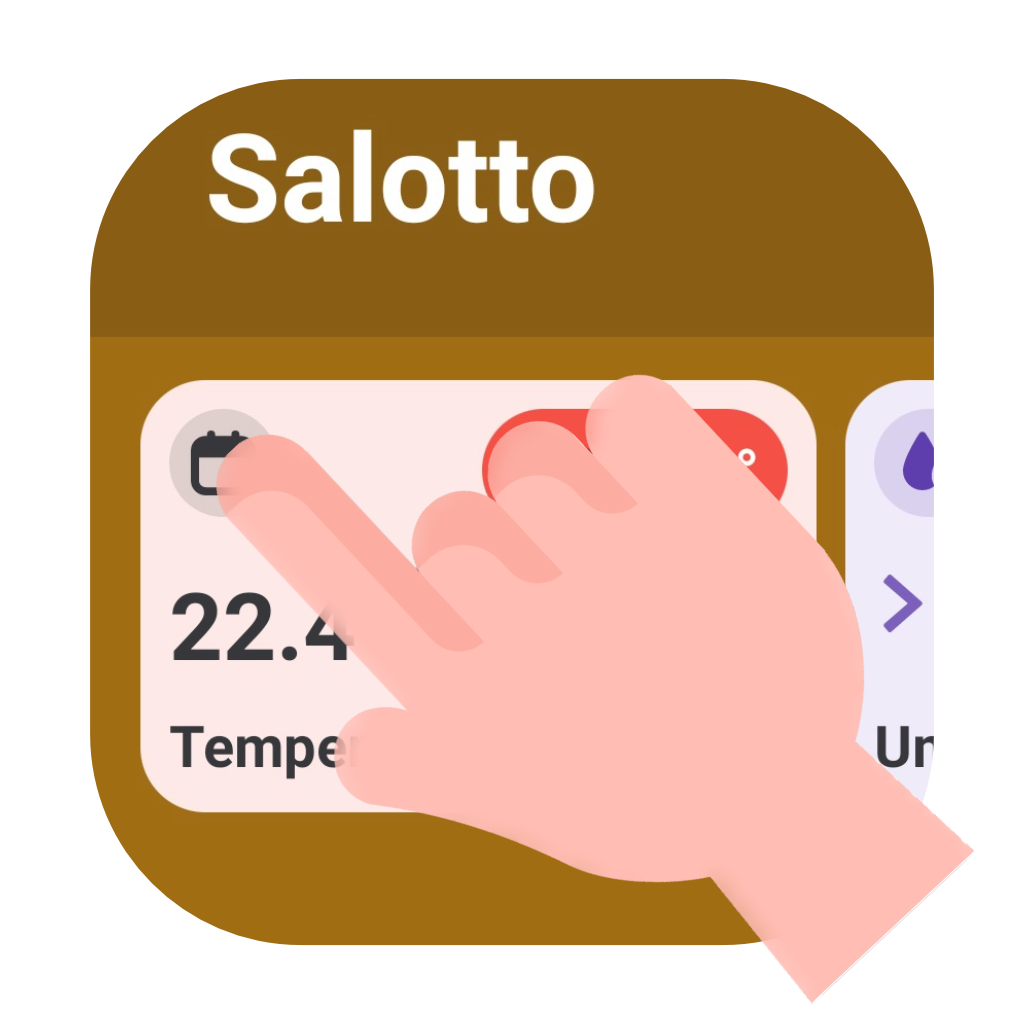
If you press and hold the thermostat, a simpler interface appears, allowing you to quickly adjust the setpoint.
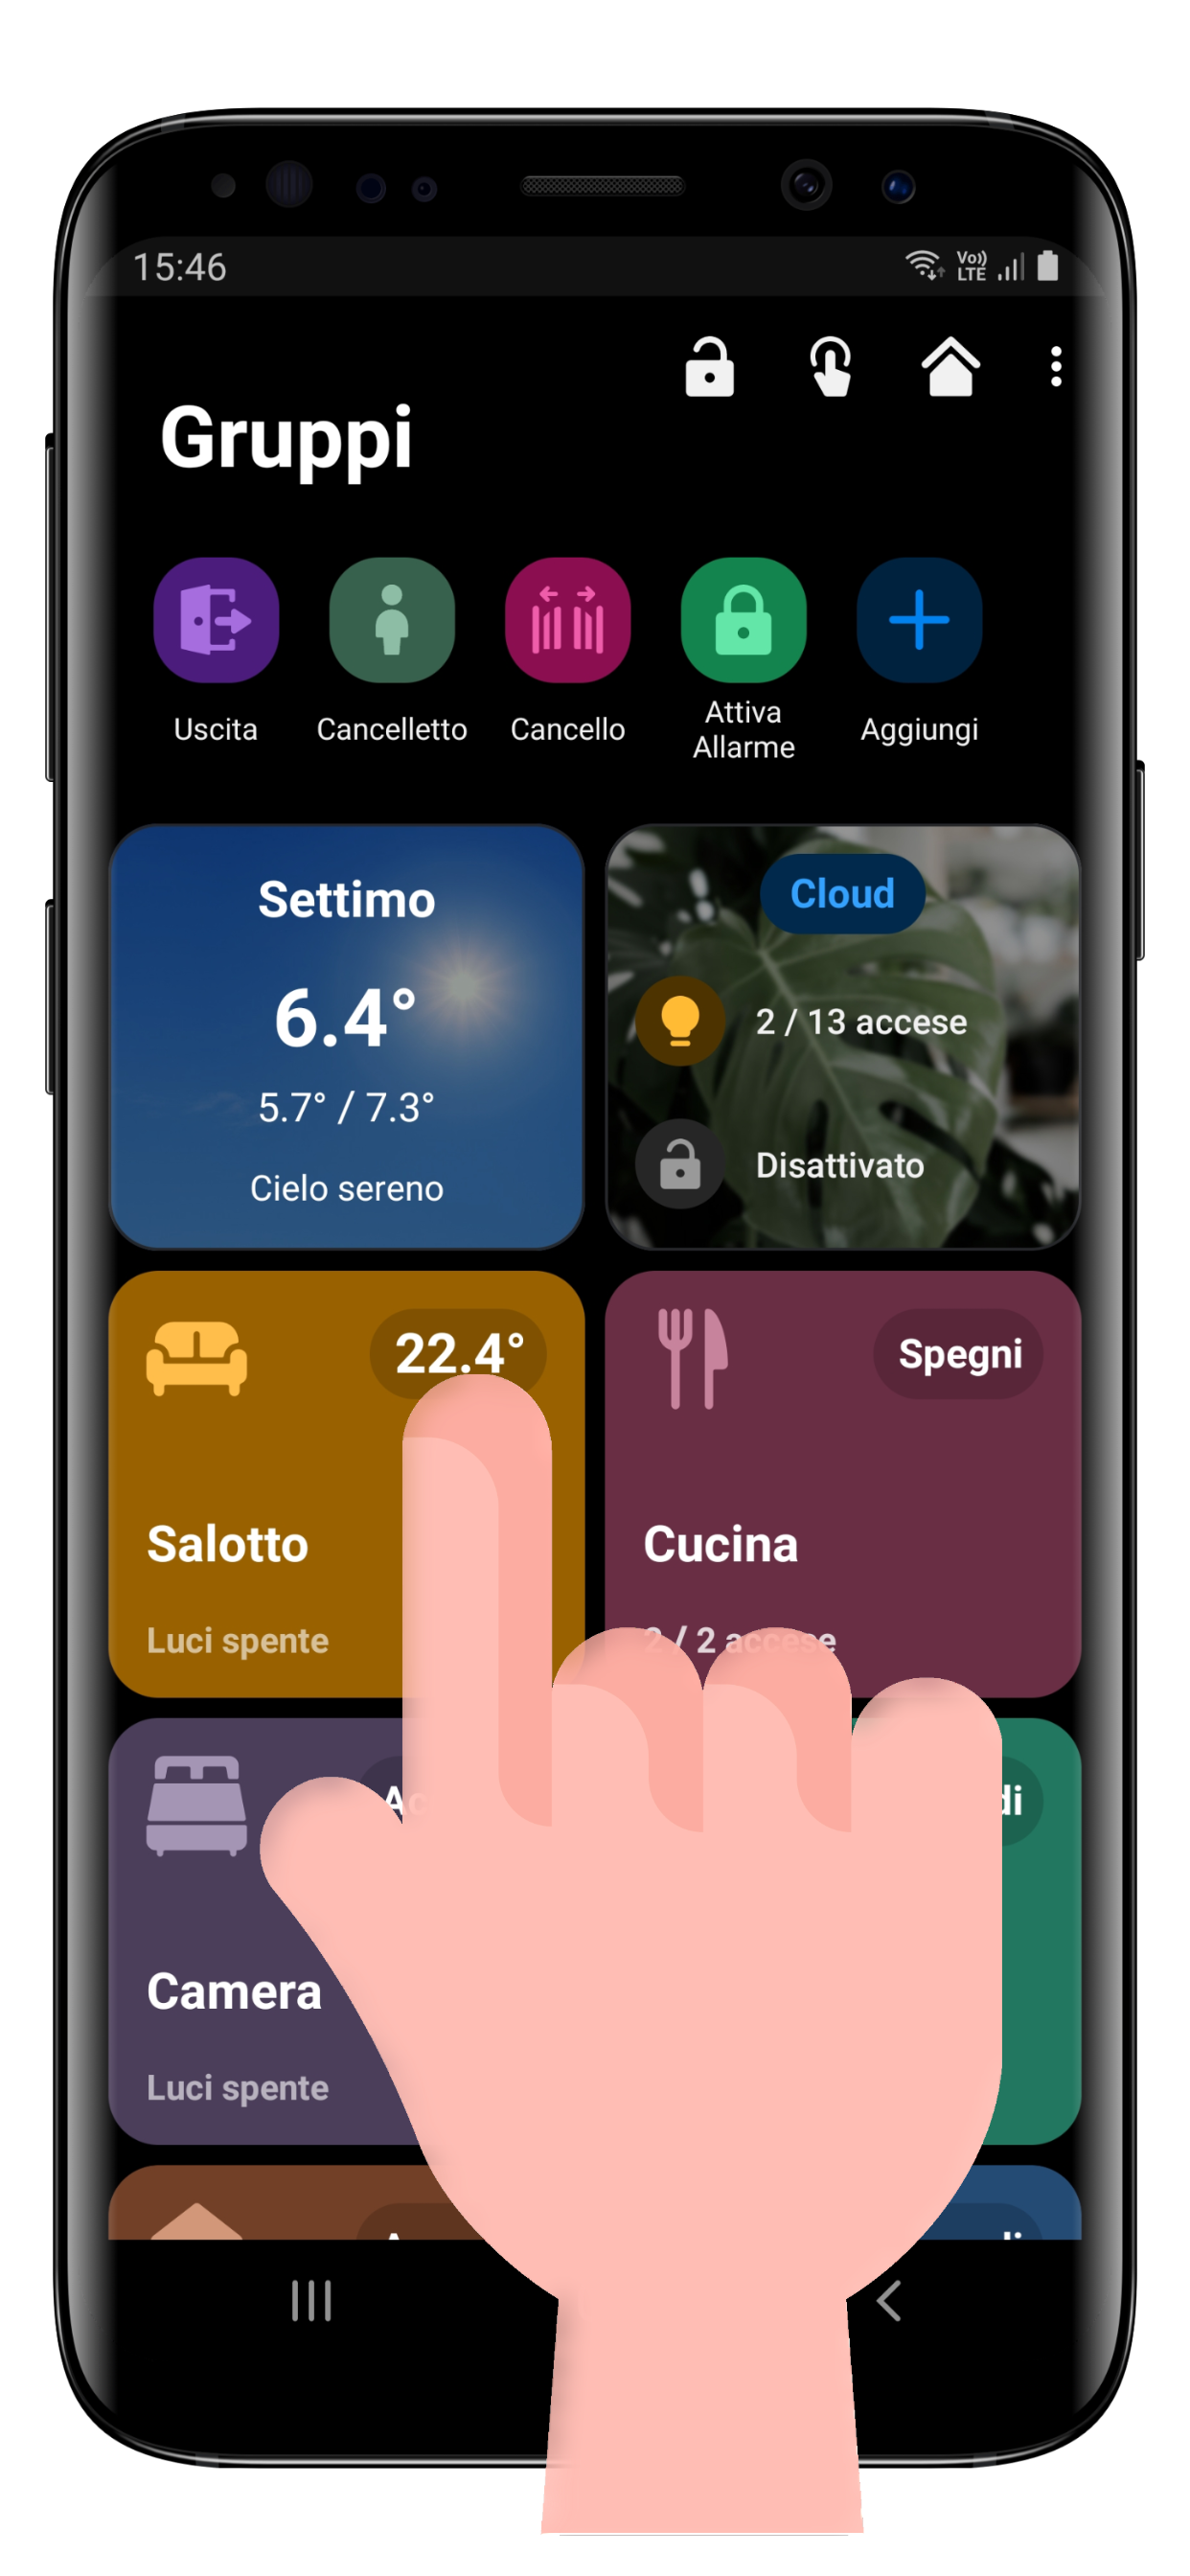
You can also quickly access the thermostat by tapping the temperature value shown in the rooms/groups on the main screen. In this case too, a long press will open the quick setpoint screen.